How to start a Shopify store? (2019 guide)
How to start a Shopify store? – This guide will incorporate from our earlier guide and added new information for the most comprehensive instruction yet. This instruction will lean more on the technical aspect and serve as a checklist of what needs to be done. If you are looking for a quick overview of Shopify in general, see “What Is Shopify? How To Sell On Shopify?”
Hopefully, by the end, you will get an idea of how a Shopify store operates, and how to set up one yourself,
Finding a Shopify niche
How to find a niche for Shopify Store?
If you have already had in mind what to sell, great! If you don’t, then it’s time to do some market research and find your own niche. A niche is a part of the market that can be defined by its unique demand. Pet accessories are a niche, for example.

There are thousands of different interests that you can cater to out there. No matter what method you use for researching, here is some general advice:
- Research your audience: There needs to be a demand large enough for your business to thrive. You won’t be able to make a profit from a small number of customers even if they are the most enthusiastic buyer in the world (unless you are selling luxury goods, which is a different story altogether). A small audience also means that you will have trouble running advertisements later. In general, an audience of 10 million would be a good place to start, which is big enough to create Facebook Lookalike Audience if your campaign is doing well and you want to expand the targeting.
- Choose a year-round product: Everyone always wants to know what the latest “selling product” on the market is. However, selling a product that can create a profit anytime in the year is a safer strategy for the growth of a business in the long term. One way to combine both benefits is the Print-on-demand model: if a trending design doesn’t sell, you can always change it into something else without worrying about unsold inventory.
- Differentiate yourself: Always think about how you can stand out from the crowd. Maybe you can put a unique spin on the product? Or you can offer excellence service?
Shopify niche ideas
Below are some of the example targeting an audience that is relatively easy to start with:
- Pet owners: accessories, toys, food, pet clothing,…
- Travelers: athleisure, traveling gadget,..
- Homeowners: Furniture, decoration items, security gear (camera, doorbell,…)
For more ideas, take a look at “Trending products 2019 for Shopify dropshipping”
How to set up a Shopify store?
After filling out the starting form, you will immediately get access to your backend. From here you can start building the store up right away.
Pick up a Shopify theme
For a Shopify store, a theme is a template that decides how your store will look like to the customers. As such, picking a theme is one of the first things to do in setting up a store. You can find many great themes for free in the Shopify theme store.
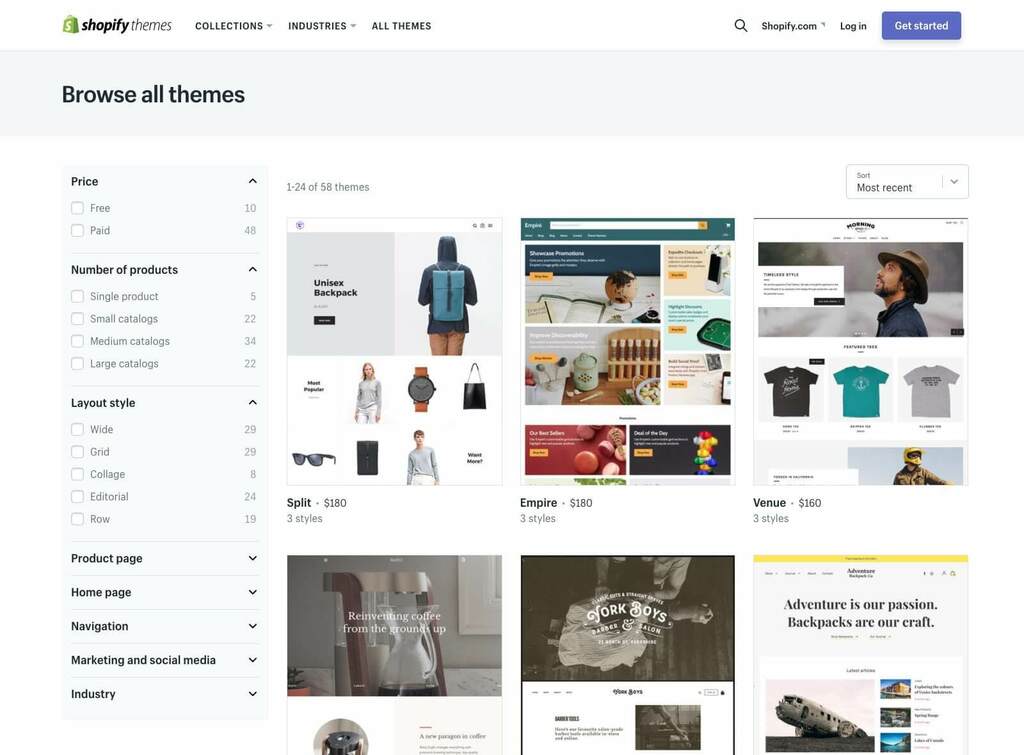
Some themes will come with unique features that others don’t have. For example, the free theme Debut support product recommendation. If you use Debut, you can add a Product Recommendation section to your store without digging into the theme code.
Import product to your Shopify Store
Products are, of course, the main content of your store. There are two ways to add products into the store.
Adding new products in manually
Go to “Products” from the admin panel and you can add new products to your store by clicking “Add product”. You can also update or delete existing ones from there. This is for when you have a small number of products.
Bulk import from CVS file
If you have a large amount of product you want to move over to Shopify, it’s best to use CVS (comma-separated values) file with UTF-8 encoding.
Even though this method is a bit more complicated and requires knowing how CVS files work, it’s much faster in the end compared to the previous method. You can see a sample for the CVS file here.
Customize designs to match the main color and spirit of the site
After you have chosen a theme at the step above, you can make further adjustments to it for a unique look and feel. Just go to Shopify admin > Theme and you can edit almost everything from there. The theme editor has a preview feature that shows you how the changes will look like in the live store. If you have coding knowledge, you can create advanced customization using HTML, CSS, and Liquid.

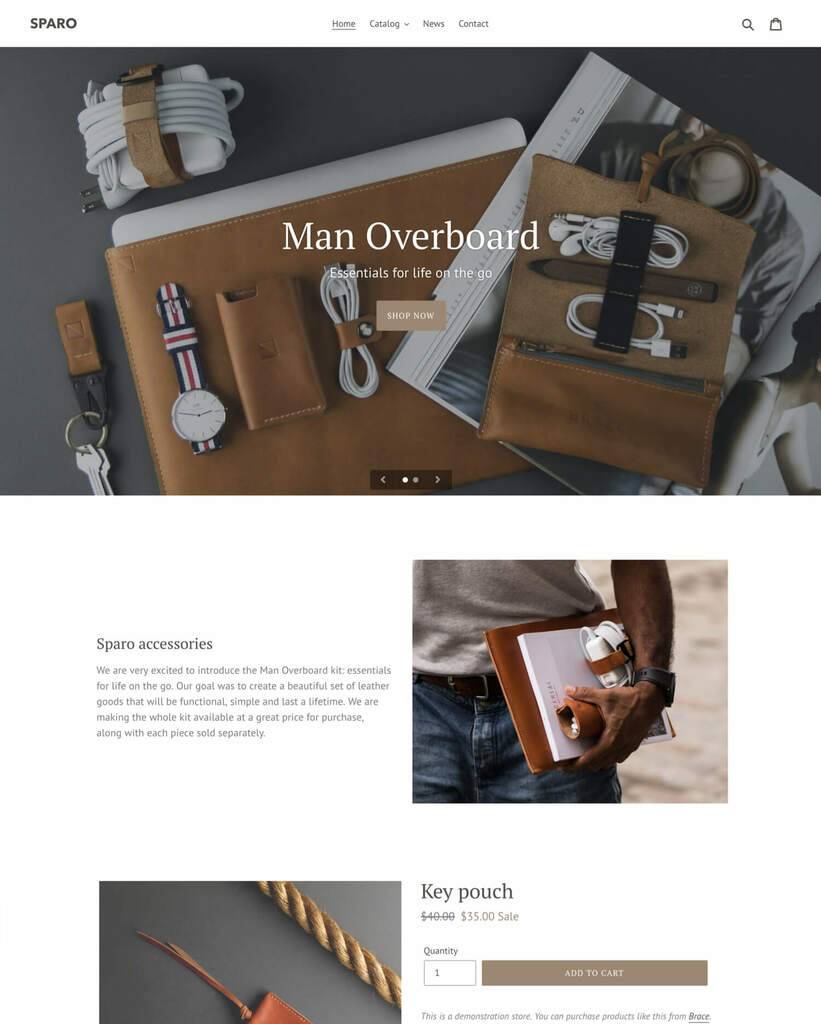
As mentioned before, certain settings are available for only certain themes. You can always find your theme documentation for instructions.
>> Maybe you’ll want to know: Shopify Website Design Checklist For Your Store
Activate payment gateway
The payment gateway will be the way you get paid once you successfully sell your products. On Shopify, there are several options for payments:
- Shopify Payment: No transaction fee from Shopify, accelerated checkout, credit card included. Your store will automatically accept payment from major providers. However, it is only available for certain countries and certain business types.
- Third-party payment providers: For example PayPal, Amazon Pay and Apple Pay. You can be charged an extra fee for each transaction, so make sure to check beforehand.
- Other methods, for example, cryptocurrency.
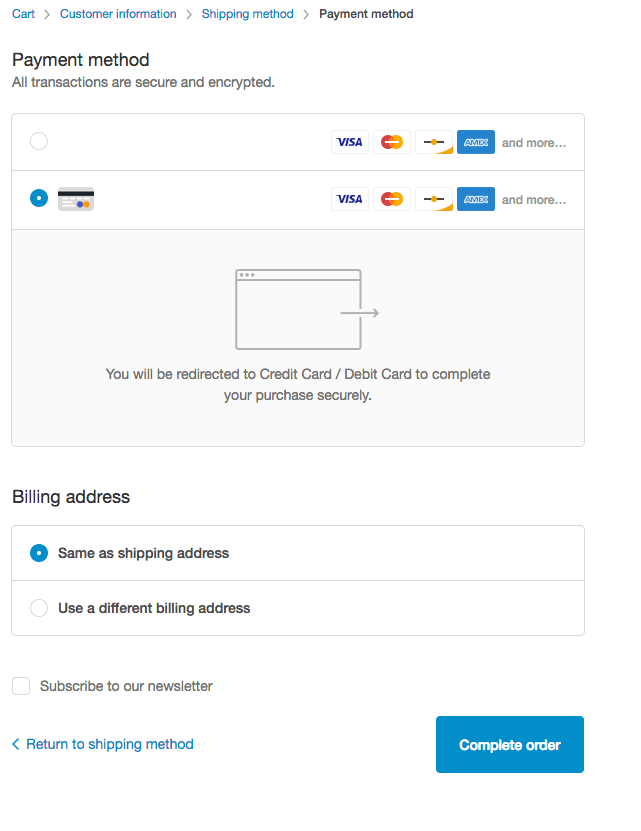
When picking a payment method, think about where your business is and where your customers are. Go to “Payment provider” from your admin to set up your payment.
Add a Shopify domain
Having a custom domain is not required to set up a Shopify store, but it is strongly recommended. If you don’t have one, then your store will carry the standard “myshopify.com” after whatever store name you have. Having your own domain rather than the “examplestore.myshopify.com” helps earn customer trust and create a better brand image.
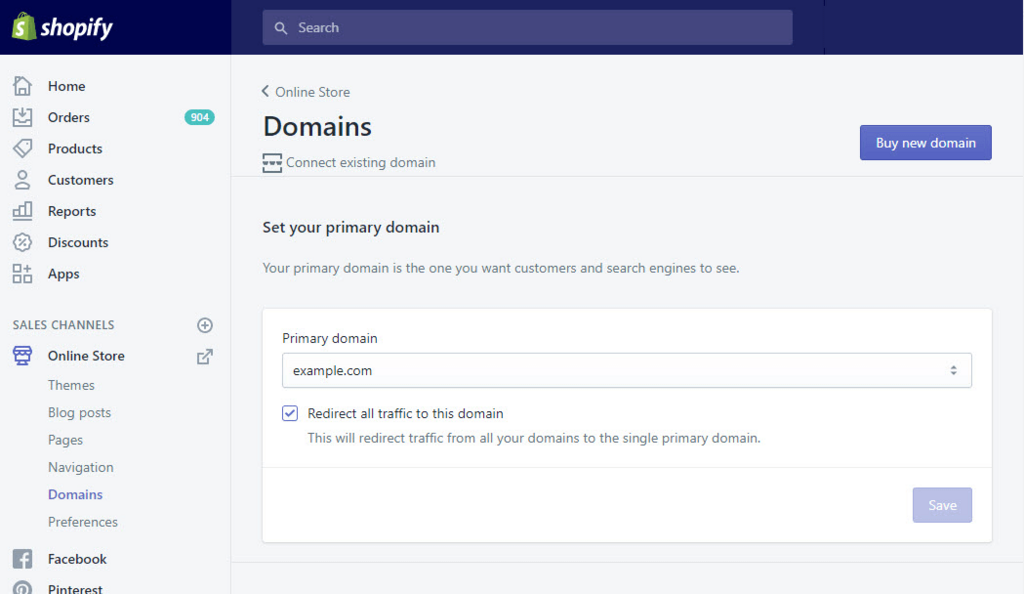
Buy a new domain
Nowadays, one can easily find a .com domain for about $10/year online, so there is really any excuse not to do this worthy investment.
As a note, you can buy a domain name right through Shopify. The price there is a bit more expensive than other providers. However, it comes with the perk of simplifying the process of domain connection later on as the domain will be automatically configured to work with your store.
Connect a third-party domain
You can connect a domain from outside Shopify so that it will redirect to your store. This way, you will still manage your domain through your third-party provider as before.
Transfer domain to Shopify
Another option is to transfer the domain entirely over to Shopify. If you do this, then you will manage your domain through Shopify admin instead.
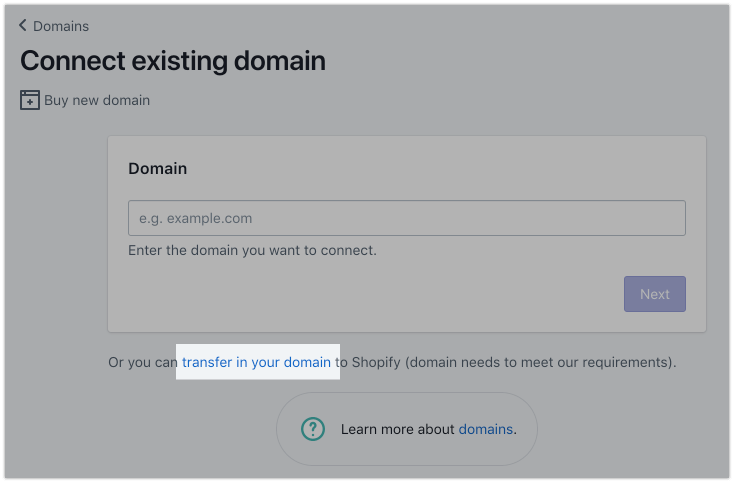
Some notes about this process:
- The domain has been registered for more than 60 days
- You can access the original domain account
- You need at least 12 month left of ownership of your domain
- Transferring can take up to 20 days to complete
Add pages for categories and information
Adding categories and collections
If you have more than 10 products, you need to make sure that each of them is readily accessible for the site visitors. Making your store is easy to navigate is vital in creating a good customer experience.
Categorizing your products into collections and present them logically is a good way to create a product filter system for your customers. Once you created a collection and publish it, visitors will be able to view all products of a collection on its own collection page. You might want to put similar items together, for example having different collections for t-shirts, hoodies, etc.
You can create collections manually or automatically (note that they can’t be converted to each other once created):
- Manually: Go to Products > Collections > Create Collection. Then add the products you want. Easy, but can be time-consuming. Also, you will need to manually update them in the future as well. This is recommended for one-off occasions like seasonal sales.
- Automatically: Set up to 60 conditions so that every product with the matching requirement will be automatically added to the collection. Go to Products > Collections > Create Collection and select ‘Automated” in “Collection type”. There are many ways to sort a product into a collection. One easy and quick method is through the tags system: you can add tags to each of your products for easy filtering and searching. Customers won’t see it, but you can.
Tips: Have a clear and consistent tagging system in place right from day 1, otherwise you will one day find that your categories have overlapped each other forming a tangled mess.
Adding information pages
Another task to take care of is adding information about yourself so customers can learn about you, creating trust between two parties. Some essential pages to have are:
- Shipping policy
- Payment and return policy
- Privacy policy
- About us and contact (great place to gather email leads)
Set up shipping methods
You ship from one location
- Add a shipping origin address
- From your Shopify admin, go to Settings > Shipping.
- In the Shipping origin section, click “Edit address”
- Enter the address of the location where you ship your products from, then click Save
You ship from multiple locations
- In your shipping setting, enable multiple locations
- If you change the shipping origin to a location without carrier support, then the rates for that carrier will not be shown at checkout. Be aware to make your shipping cost visible to customers. The last thing any shopper wants is to be hit with an unexpected charge.
After setting your shipping location, you can add a package type:
- If you are not in the United States and Canada, then you can only have one package type. If you operate in the United States, then you can add USPS flat rate packaging.
- From your Shopify admin, go to Settings > Shipping.
- In the Packages section, click Add package. Then enter the required information
Conclusion
The above will get you a clear picture of what to do and where to begin with Shopify. If you have any questions, don’t hesitate to comment and voice your opinion below.


