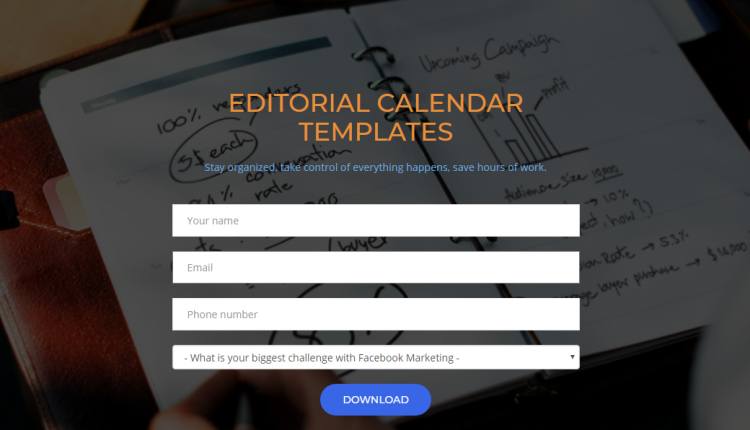
Create landing page using Eggflow: Detailed instruction
Creating landing page is a powerful function of Eggflow. This allows even non-tech users to create their own landing page within a few minutes. During your first experience with Eggflow, you may be confused by Eggflow wide range of tools and functions. Let us smooth your way with our series of basic instructions on how to use Eggflow.
Get started with a landing page
First, when you are at the main Eggflow main interface, click on Dashboard to be directed to Eggflow Managing interface.

Before start building a landing page, you need to create a form, which represents the information you require customers to fill in with.

Eggflow provides users with many ways of displaying information.
Text box and Text Area are quite the same which is a box for users to type in their answers. While with Select box, you customize a particular number of options and users will choose among those options. The options are minimized inside a selection bar and only visible when users click on the bar to select one. If you want the options to be stably visible or you want to allow users to select more than one options, select Checkbox, users will select options by clicking on the checkbox before each option. Radio is a kind of Checkbox but users can only select one option.
Tips: You can adjust the layout of the form simply by dragging the boxes to where you want them to be.

After you finished creating your form, go back to Content, choose Landing Page.
The first thing to do is to give your landing page a name. Remember to be brief and descriptive so that users can search for your landing page on Google. Then choose the form that you just created. The “New Form” button plays the backup role in case you change your mind and want a new form.

Now you can see an empty canvas. This is where you design your own landing page. Eggflow provides you with several templates for the header, footer, gallery, customer testimonials, etc. To use a template, just drag and drop it into the canvas, then you can adjust content and background picture.
There are 3 edit modes: Block, Content, and Details.
Block: Each template you drag from the left-hand column is called a block. Enabling this mode allows you to adjust the position of blocks, edit the HTML code remove blocks.
Content: Select content to change the content of any text on your landing page.
Details: Enable this mode to edit font, size, color, border and other information of the text. You also select this mode to insert photos to the canvas, just by clicking on the area designated for a picture.
Tips: Remove redundant buttons and icons by enabling Block mode.
File Manager
All pictures and videos uploaded are saved in File Manager, you can easily take control of these media by putting them into folders. The next time you use one picture or video, you just browse your File Manager folders.
Click Save now when you’re done, or click Preview on the left corner to view if there’s anything needs to be edited.
Your landing page is ready for use in Content –> Landing Pages.

If you have any question, leave us a message here, send us an email here or contact us via Facebook. Thank you for using Eggflow, follow us to always stay up to date.
Newbie? Start your free trial here.


